2024 update!: I’ve made a short tutorial of making one section. I used a project that I had already started, so it does not include the starting chain. It’s mid-work!
How is my ribbed hat different than others? It uses smaller stitches AND short rows to create a great fit on the top of your head. Practically no bunching and nice tight gather at the top!
 |
| Heartlands: Kings Canyon, Acadia; I Love This Yarns: Cranberry & Yellow; Heartlands: Denali |
 |
| The top of the hat! |
This pattern in available in the following sizes.
Newborn, Toddler, Child, Adult, Adult Large
These sizes are sort of a rough estimate. I have not made the Adult Large size yet, and a couple of the ones I did make weren't exactly to pattern as I was figuring out the sizing and pattern.
*This pattern has been edited to remove the "teen" size and to change stitch count on the Child size as I just finished one and tried it on my 5 year old and felt it wasn't quite right. I tried on the toddler size hat myself and it was not tight like I expected, though it looked it. I just made a newborn that when unworn measured approx 11" in circumference, and being so stretchy is a perfect size.
A new picture of all sizes will be added in the future as I plan on having all sizes made appropriate to the pattern.
For the record, the red and yellow hat with the poof in the picture - I didn't use short rows on it and it's pretty bunchy at the top. It was my first one and a bit ugly, and unless you don't mind weaving in ends, I do NOT recommend striping colors. What a pain in my butt. But I am very happy with it! (Go Gryffindor!!)
I recommend Heartland yarn. This hat is SO soft and cozy and I absolutely LOVE IT!
*** Heartland yarn is a stretchy yarn! Using a different yarn will change the fit and stretch of the hat. ***
MATERIALS
H/8 - 5.00mm hook
Lion Brand Heartland yarn (or your choice #4/worsted weight yarn)
Yarn needle to weave in ends and scissors to cut yarn
Stitch marker, though not necessary.
STITCHES/TERMS USED
(optional) Chainless Foundation
Single Crochet (SC)
Half Double Crochet (HDC)
Gather stitch (I am making this up. Pull up 2 loops, 1 from the side of each of the previous two rows. Pull another loop from the next stitch, back loop only in this case. YO and pull through 4 loops. Picture at end of post!)
Back Loop Only (BLO)
PATTERN
The number of stitches will be listed as follows. Newborn(Toddler, Child, Adult)
For Adult Large, pattern is written separately beneath this one, as it is a bit different.
Tip: Place a stitch marker in your last SC. This makes it a little more mindless and helps prevent mistakes. (I did make mistakes a couple times before I started to use the marker)
Row 1:
Option 1 (recommended) - Chainless Foundation 6 (6, 6, 10) SC and then continue Chainless Foundation 20 (24, 28, 30) HDC.
Option 2 - Chain 27 (31, 33, 41) In second chain from hook, work 6 (6, 6, 10) SC and then work 20 (24, 28, 30) HDC. [if you use this option, your tail will be on the opposite end. I use the tail to draw the hat together, but you'll have to weave it in and then use a separate piece to draw your hat together]
**
Row 2:
Ch 2, turn. HDC in BACK LOOP ONLY 20 (24, 28, 30). SC BLO 3 (3, 3, 5). [Leave the other stitches unworked]
Row 3:
Ch 1, turn. SC BLO 3 (3, 3, 5). HDC BLO 20 (24, 28, 30).
Row 4:
Ch 2, turn. HDC BLO 20 (24, 28, 30). SC BLO 3 (3, 3, 5). Gather. SC BLO 2 (2, 2, 4) .
Row 5:
Ch 1, turn. SC BLO 6 (6, 6, 10). HDC BLO 20 (24, 28, 30).
**
Repeat rows 2-5 (ending on a row 4) for a total of 28 (32, 36, 40) rows.
If you count row 1-4 as a single section (count how many short rows there are) it's 7 (8, 9, 10) sections. If you're trying to adjust the circumference of your hat, the number of rows needs to be divisible by 4.
Skip over this part if you're ready to finish the hat. The following is for the Adult Large.
The adult large is worked in 6 sections instead of 4, so the circumference/number of rows must be divisible by 6!

ADULT LARGE PATTERN
Row 1.
Op 1- Chainless foundations: 12 SC as well as 34 HDC.
Op 2. Chain 47. In second chain from hook, SC 12. HDC 34. [if you use this option, your tail will be on the opposite end. I use the tail to draw the hat together, but you'll have to weave it in and then use a separate piece to draw your hat together]
** Row 2.
Ch 2, turn. HDC BACK LOOP ONLY 34. SC BLO 8. [leave 4 unworked]
Row 3.
Ch 1, turn. SC BLO 8, HDC BLO 34.
Row 4.
Ch 2, turn. HDC BLO 34, SC BLO 4 [leave 4 unworked]
Row 5.
Ch 1, turn. SC BLO 4, HDC BLO 34.
Row 6.
Ch 2, turn. HDC BLO 34. SC BLO 4. Gather. SC BLO 3. Gather. SC BLO 3.
Row 7.
Ch 1, turn. SC BLO 12. HDC BLO 34.
**
Repeat rows 2-7 for a total of 42 rows (ending on a row 6), or for 7 completed sections. The number of rows will be divisible by 6.
FINISHING THE HAT
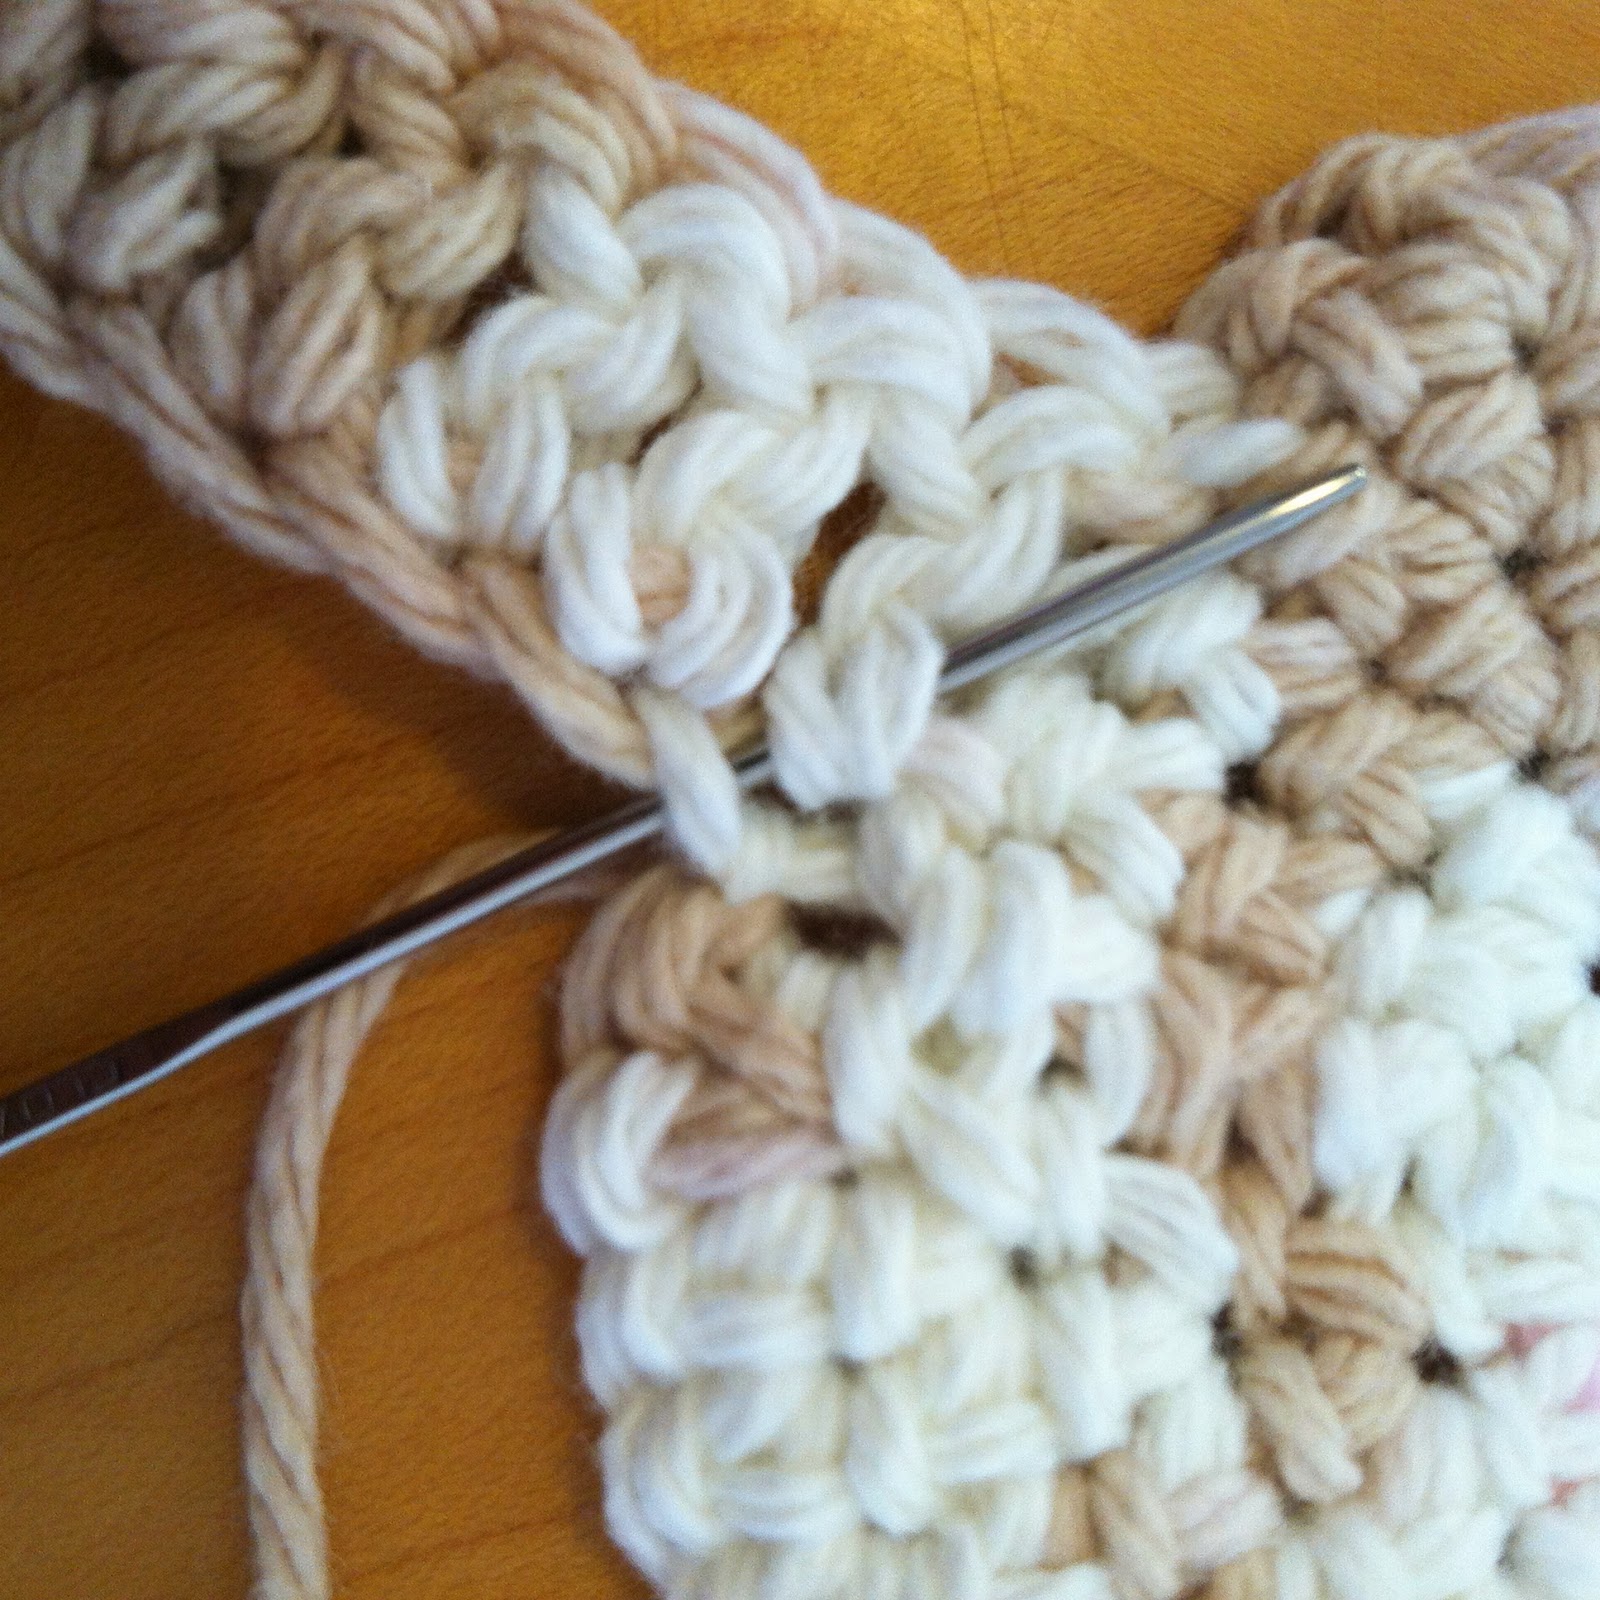
Leaving a long tail at the end of your work, use this to seam together the sides of the hat. Make sure to work only in the Back Loop of the last row!
[ I like to hold my work as if I was doing an addition row so I know where to work into the back loop. If you don't have the same number of stitches on each end of the piece, you made a mistake! (That happened to me and still don't know when/how/where the mistake happened.) ]
After the sides are seamed together, gather around the top of the hat and pull tight. Secure it well, weave in all ends, and you are finished! You of course have the option of making a poof ball on top of your hat, or doing trim around the opening, but I did not do this for mine.
[When gathering the top of the hat, I only worked into the stitches where you can see two strands. Less is more here if you ask me. See pictures for clarity on that!]
 |
| End of Chainless Foundation/Row 1 |
 |
| Marker lets me know to switch to SC |
 |
| End of row 2 |
 |
| End of row 3 |
 |
| Row 4. Marker tells me to switch to SC |
 |
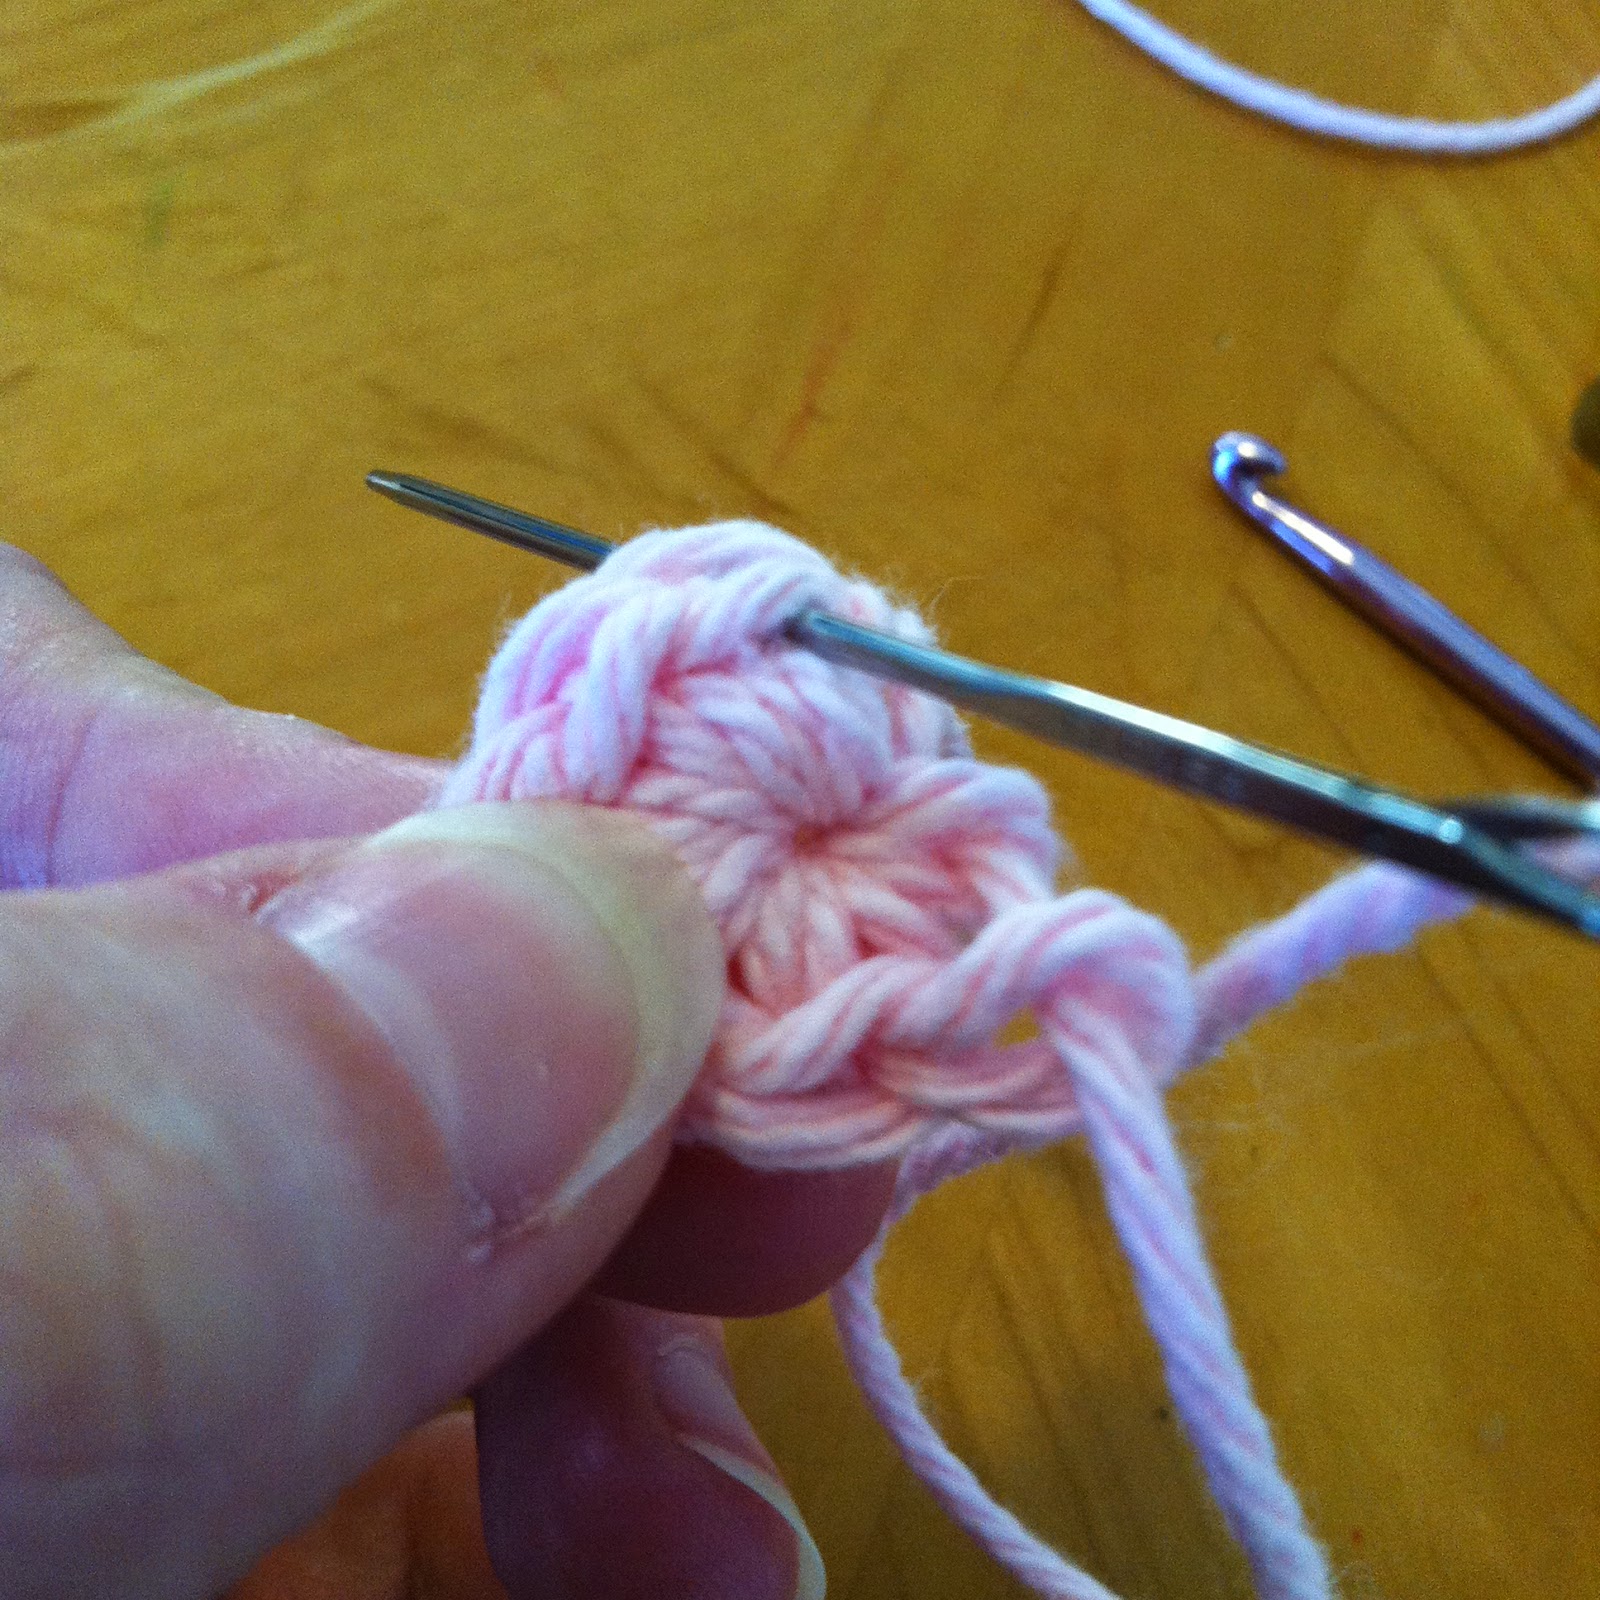
| Stitch Markers showing where to draw loops on my Gather stitch |
 |
| All loops drawn for my Gather stitch |
 |
| Gather stitch completed |
 |
| One section complete. |
 |
| 3 sections completed |
 |
| All rows completed (toddler size hat) |
 |
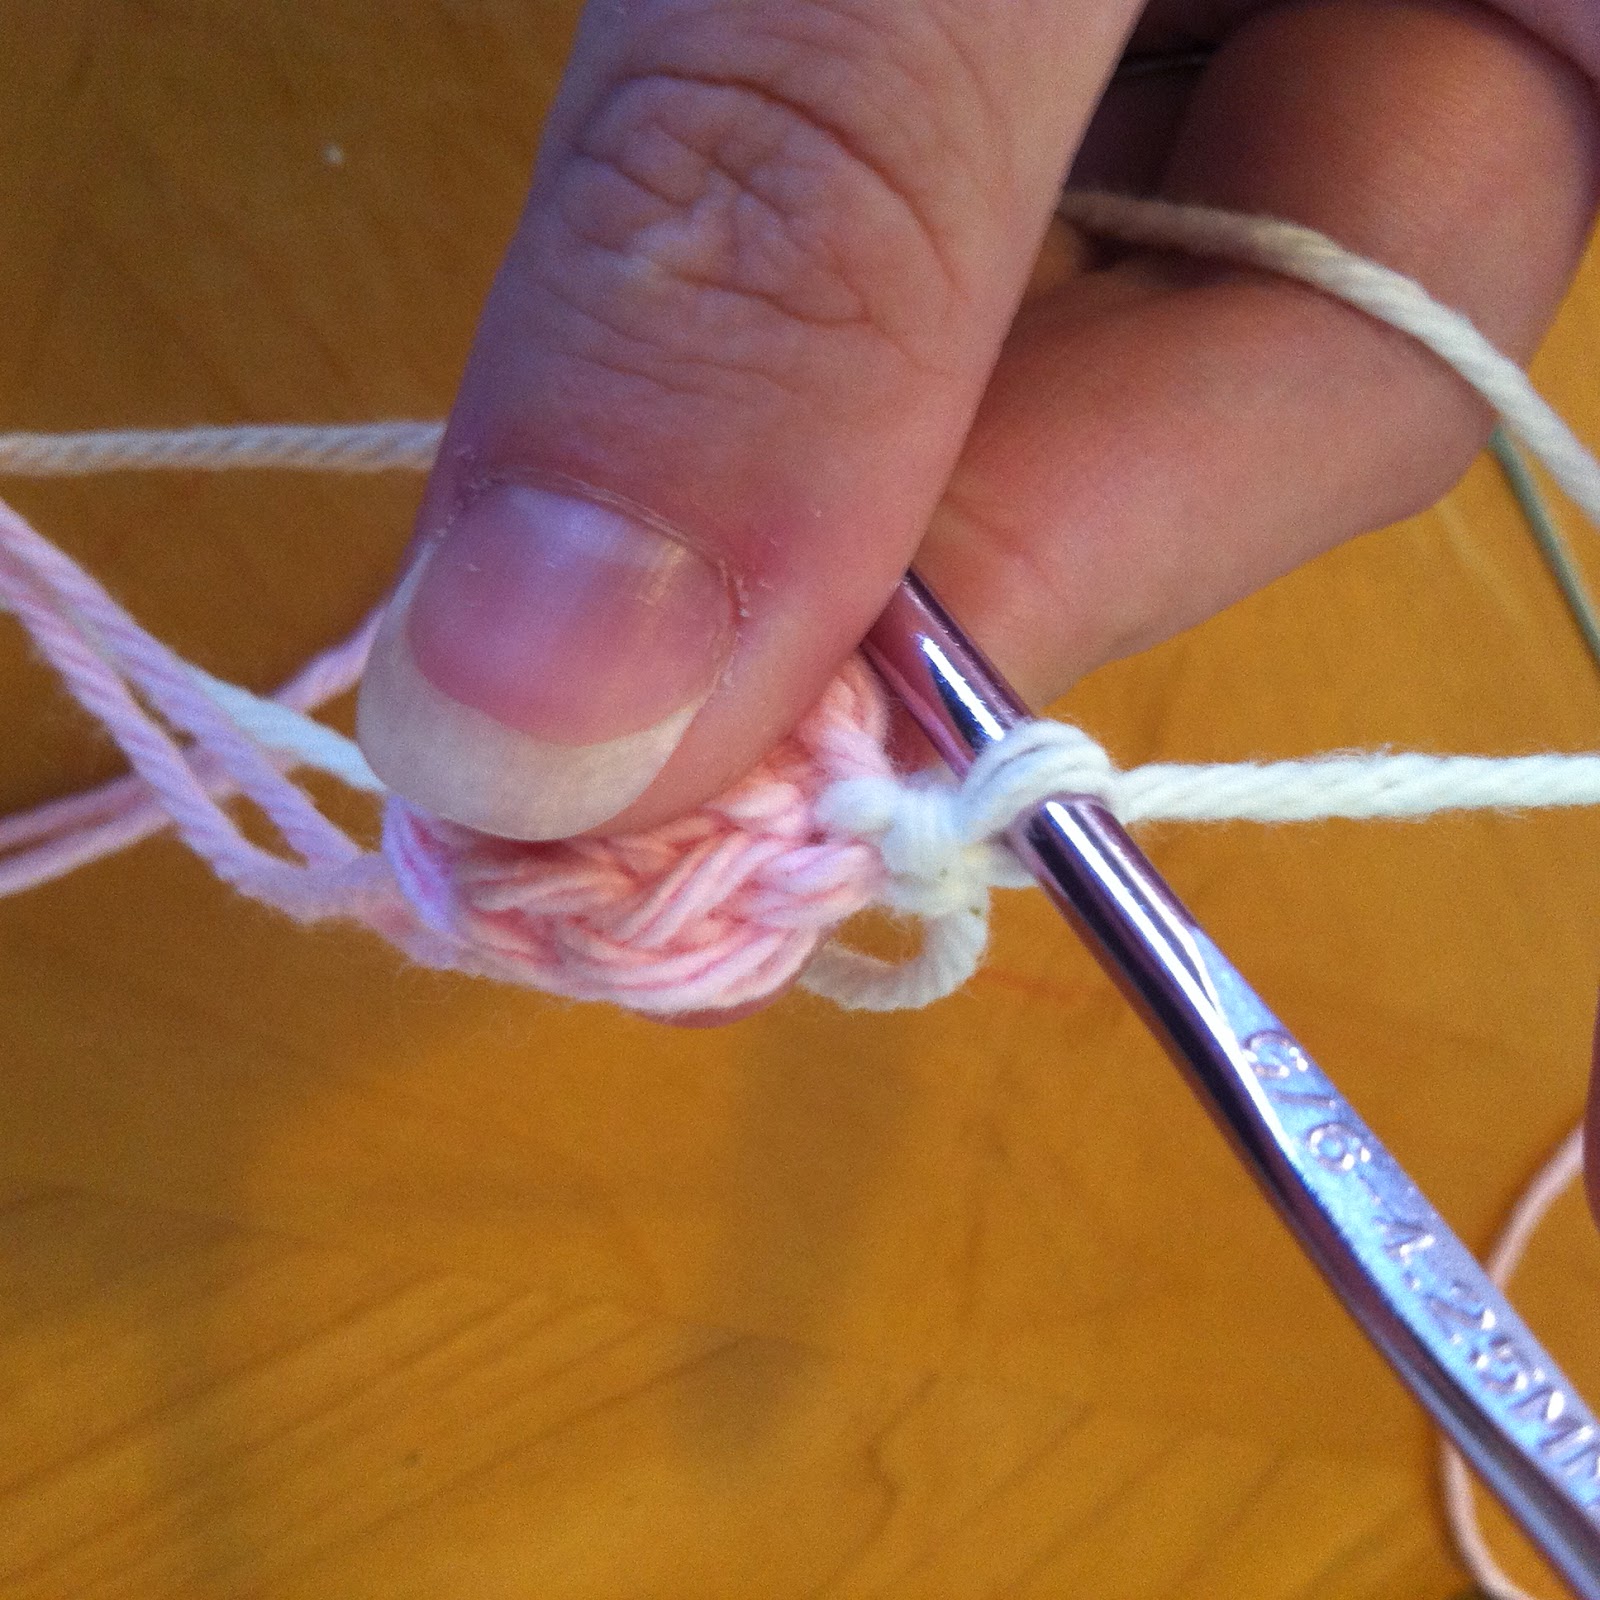
| I worked my tail through my slipknot to start |
 |
| Back Loop of first stitch with first stitch of other side. |
 |
| All seamed up. |
 | |
| Last of 8 stitches to gather top of hat. |
 |
| Pulled tight! |
 |
| Completed. Showing side with seam and top. |
 |
| Other side, no seam showing. |
 |
| My 5yo in the toddler size hat. She approves! |
 |
| Looks tight to me, and obviously too short for brim. |
 |
| Adult size |
 |
| Adult size on me. |